How to Reinforce Built-In Beadboard Backers for Heavy Winter Parkas
Reinforcing built-in beadboard backers for heavy winter parkas requires a strategic approach to ensure your storage setup can handle the significant weight of insulated outerwear. When you rely on decorative paneling to support hooks or racks, the thin wood veneer often lacks the structural integrity to prevent sagging or tearing over time.
By properly anchoring these fixtures into the studs behind the beadboard, you can create a reliable system that withstands the constant stress of heavy, wet garments. This article explains the essential techniques for fortifying your mudroom or entryway storage, ensuring your wall panels remain secure and damage-free throughout the coldest months of the year.
Identifying Structural Weakness in Beadboard
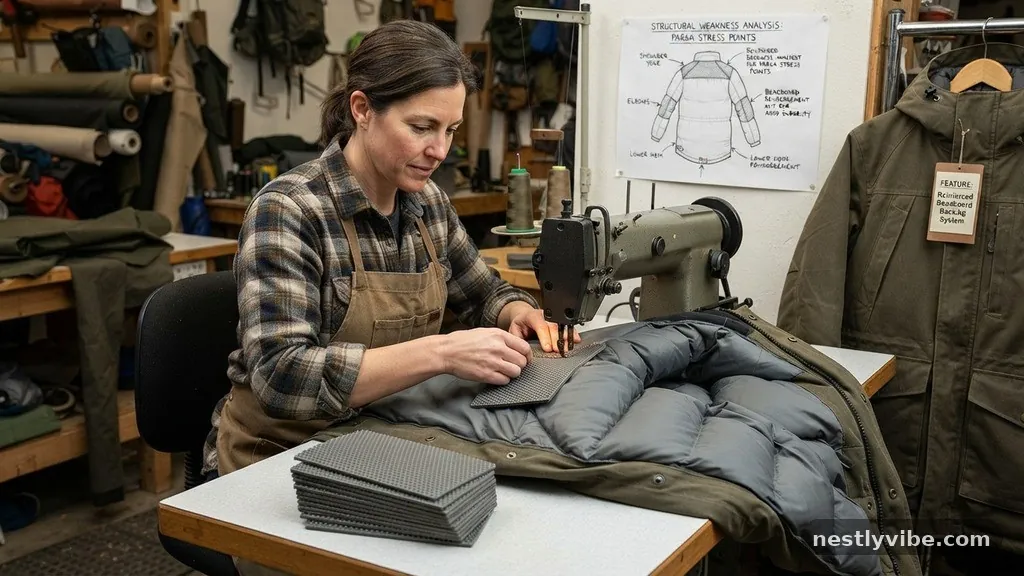
Beadboard is primarily a decorative element rather than a load-bearing surface. When you install it, you are often working with thin sheets of MDF or pine that are designed to add aesthetic texture to a room. A heavy winter parka, especially when wet, can easily weigh over five pounds, and the repetitive action of pulling a coat off a hook exerts significant outward force.
If your hooks are screwed directly into the beadboard panel without additional support, you risk pulling the fasteners right through the material. Over time, this creates enlarged holes and unsightly cracks in the finish. You must look past the surface layer and identify where the underlying studs are located before you begin any installation or reinforcement.
Using a high-quality stud finder is the first step in this process. Most residential walls feature wooden studs spaced 16 inches apart on center.
If your hook placement doesn’t align perfectly with these studs, you have to create a secondary mounting surface. Ignoring these structural realities will inevitably lead to failure, regardless of how much adhesive or trim you use.
The Importance of Backing Boards
The most effective way to reinforce your setup is to install a solid wood backing board horizontally across the beadboard. This board acts as a bridge, transferring the weight of the coats from the fragile paneling to the secure framing of the wall. A piece of 1×4 or 1×6 pine works exceptionally well for this purpose.
You should mount this backing board directly into the studs using long, heavy-duty wood screws. Once the board is firmly attached, you can mount your coat hooks directly into the solid wood. This method distributes the load across a larger surface area, preventing the localized stress that usually leads to panel damage.
Choosing the right wood for your backing is essential for both durability and aesthetics. Hardwoods like oak or maple provide superior strength compared to soft pine, though they are more expensive. If you intend to paint the backing to match the beadboard, make sure to sand it thoroughly and use a high-quality primer to ensure a professional look.
Selecting Appropriate Fasteners
The hardware you choose determines the longevity of your reinforcement. Standard drywall screws are often too brittle for structural support and may snap under the dynamic load of heavy winter gear. Instead, opt for coated deck screws or high-strength cabinet screws that offer better shear resistance.
When attaching your backing board to the studs, ensure the screws penetrate at least one inch into the wooden framing. If you are mounting hooks directly to a plate, consider using toggle bolts if you cannot hit a stud. Toggle bolts work by expanding behind the wall surface, providing a much stronger hold than standard plastic anchors.
Avoid using hollow-wall anchors for any project involving heavy winter parkas. These anchors are designed for light frames or mirrors and will fail under the constant tugging of a heavy coat. Always prioritize mechanical connections into solid wood whenever possible, as this is the gold standard for long-term wall stability.
Strategic Placement of Hooks
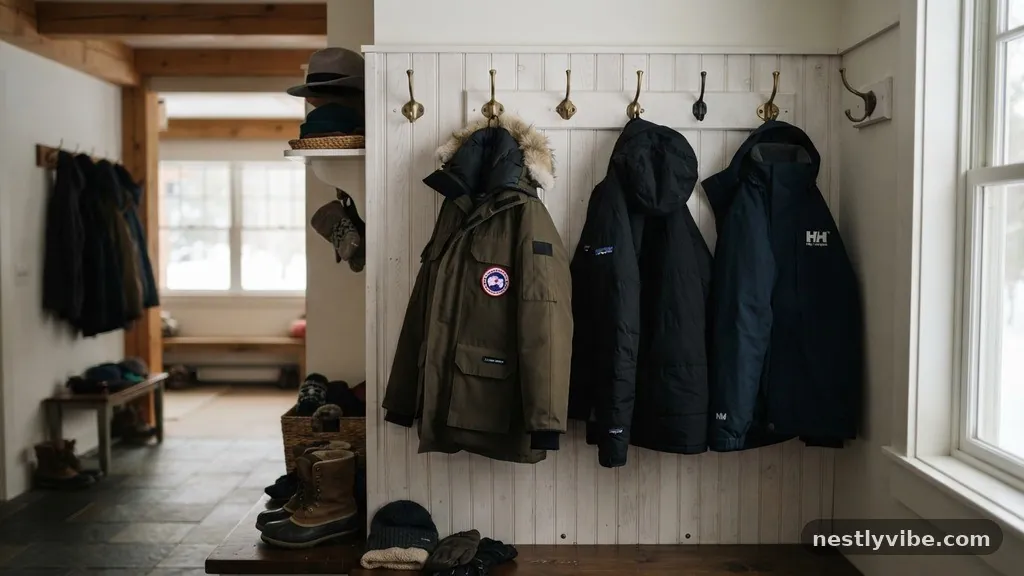
Spacing your hooks correctly is just as important as the reinforcement method itself. If hooks are placed too close together, the bulk of thick parkas will overlap, making it difficult to hang items and increasing the likelihood of items being pulled off in clusters. Aim for at least 8 to 10 inches of space between each hook.
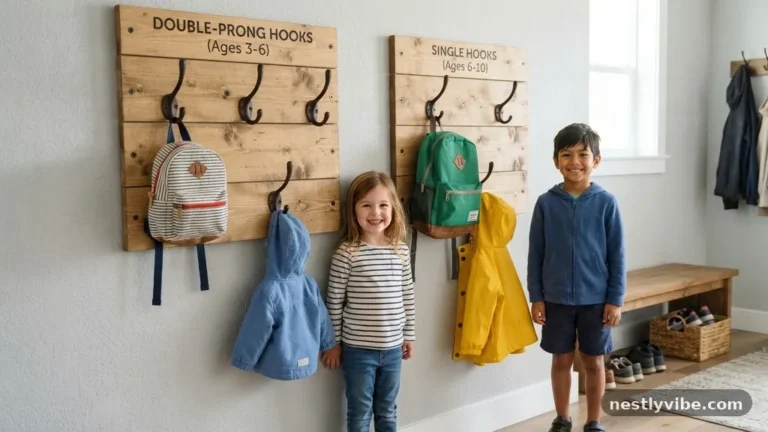
If you are dealing with multiple users, consider staggering the height of the hooks. Placing some hooks higher for adult-sized parkas and lower ones for children’s gear creates a more organized and accessible flow in your entryway. This also helps manage the distribution of weight across the entire length of your reinforced backing board.
Remember that the weight of the coat isn’t just vertical; it involves lateral force as well. When you grab a coat, you often pull it at an angle, which puts torque on the fastener. By using a wider base for your hook hardware, you can minimize this torque and reduce the strain on the beadboard panels beneath the mount.
Tools Required for the Project
Successful reinforcement requires a specific set of tools to ensure precision and safety. You don’t need a professional workshop, but having the right gear makes the difference between a secure installation and a wobbly, failing structure. Below is a list of essential items you should have on hand for this type of home improvement task.
- Stud finder: Essential for locating the solid framing behind your wall panels.
- Power drill: Necessary for driving long screws into studs and pre-drilling holes to prevent wood splitting.
- Level: Crucial for ensuring your horizontal backing boards are perfectly straight.
- Countersink bit: Allows screw heads to sit flush with the surface for a cleaner, painted finish.
- Wood glue: Adds an extra layer of structural bond between the backing board and the wall.
- Measuring tape: Required for precise spacing of hooks and alignment with wall studs.
Managing Seams and Trim
When you install backing boards or new panels, you will inevitably have seams where the materials meet. Using a high-quality caulk is the best way to hide these joints and create a seamless appearance. Once the caulk dries, it can be painted to match the rest of the wall, making the reinforcement look like a deliberate design feature.
If your beadboard has gaps at the corners, use a corner trim piece to cover the junction. This not only improves the look but also adds a small amount of extra stability to the edges of your panels. A simple piece of quarter-round or cove molding can effectively mask any imperfections created during the installation process.
For larger gaps, a wood filler or putty can be used before you apply the final coat of paint. Be sure to select a filler that is paintable and designed for interior wood surfaces. Over-applying putty can lead to cracking, so use it sparingly and sand the area until it is perfectly smooth before applying your finish.
Comparing Reinforcement Methods
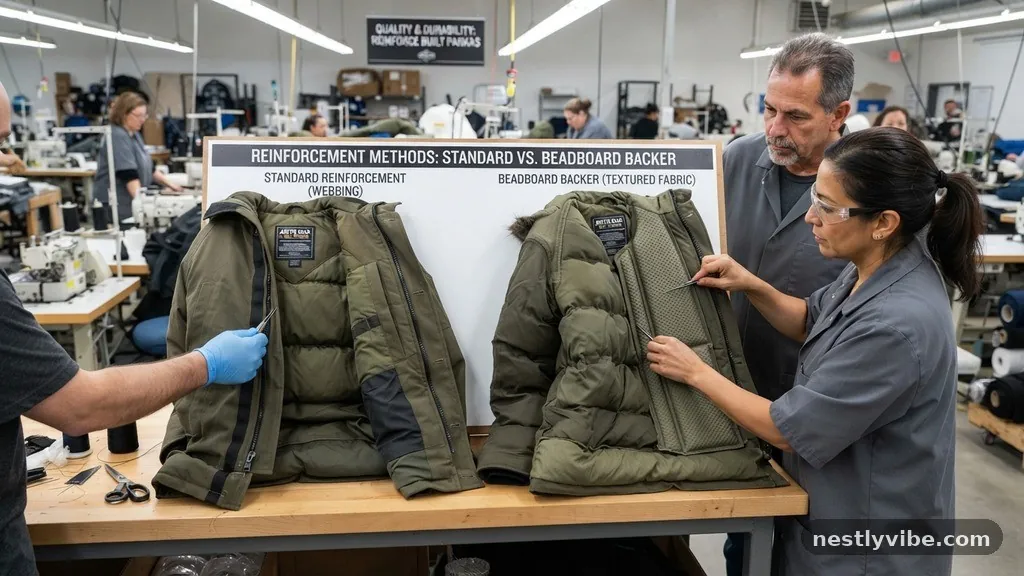
Deciding how to support your gear depends on your wall construction and the weight of your items. The following table provides a comparison of common approaches to help you determine the most effective strategy for your specific mudroom or entryway needs.
| Method | Strength | Ease of Install | Best For |
|---|---|---|---|
| Direct to Studs | High | Moderate | Minimalist coat racks |
| Horizontal Backer | Very High | High | Heavy winter parkas |
| Toggle Bolts | Moderate | Low | Lightweight accessories |
| Adhesive Only | Low | Very High | Decorative items only |
Finishing for Durability
The finish you apply to your beadboard and backing boards serves a functional purpose beyond aesthetics. A high-quality semi-gloss or satin enamel paint creates a protective barrier that resists moisture from wet winter coats. This is vital because dampness can cause wood to swell and weaken over time.
Before painting, ensure all raw wood edges are sealed with primer. If you skip the priming step, the wood will absorb moisture and paint unevenly, leading to a finish that peels or flakes. Take the time to apply at least two coats of paint, allowing for proper drying time between each layer to ensure a hard, durable surface.
If you choose to stain the wood instead of painting it, apply a clear polyurethane topcoat. This provides an extra layer of protection against the daily wear and tear associated with heavy winter gear. A good finish will also make it much easier to wipe down the surface when it inevitably gets dirty from snowy boots or coats.
Common Installation Mistakes
One of the most frequent errors is failing to pre-drill holes. Driving a screw directly into a stud without a pilot hole can cause the wood to split, which compromises the integrity of the entire connection. Always use a drill bit that is slightly smaller than the shank of your screw to ensure a tight, secure fit.
Another common mistake is ignoring the weight capacity of the hooks themselves. Even if your wall reinforcement is rock solid, cheap pot-metal hooks can bend or snap under the weight of a heavy parka. Always check the manufacturer’s weight rating for any hardware you purchase and opt for heavy-duty cast iron or steel options.
Finally, do not rely on “construction adhesive” as the sole method of attachment. While glue provides a strong bond, it should always be used in conjunction with mechanical fasteners like screws or nails. Adhesive can become brittle over time in cold environments, and you don’t want your coat rack falling off the wall in the middle of winter.
Frequently Asked Questions
How can I hide the seams between beadboard panels?
You can hide seams using a high-quality acrylic caulk. Simply apply a thin bead along the seam, smooth it with a damp finger or putty knife, and paint over it once it is fully cured.
Is it necessary to remove existing beadboard to add reinforcement?
No, you do not need to remove the existing panels. You can install a surface-mounted backing board directly over the beadboard by securing it into the studs with long screws that penetrate through both the panel and the wall framing.
Can I use adhesive to mount heavy hooks?
No, adhesive is not sufficient for heavy winter parkas. You must use mechanical fasteners like wood screws or bolts that anchor into the wall studs to ensure the hooks do not pull away from the wall under load.
What is the best type of paint to use on beadboard?
A semi-gloss or satin enamel paint is best for mudrooms and entryways. These finishes are durable, moisture-resistant, and easy to clean, which is essential for areas that deal with wet winter clothing.
How do I find studs behind thick beadboard?
Use a magnetic stud finder or an electronic scanner designed for deep-wall sensing. If you are having trouble, you can look for nail heads or screws where the beadboard was originally installed, as these often mark the location of the studs.
Conclusion
Reinforcing built-in beadboard backers for heavy winter parkas is a practical project that significantly improves the functionality of your home. By shifting the load from the decorative panels to the structural studs, you create a space that is both visually appealing and capable of handling the demands of a busy household. Remember to prioritize solid wood backing boards, high-strength fasteners, and durable finishes to ensure your installation lasts for many seasons.
Taking these steps prevents damage to your walls and gives you peace of mind that your gear is stored safely. We encourage you to assess your current entryway setup and begin planning your reinforcement project today to prepare your home for the winter months ahead.